Click here to view a glossary of the terms used in our ClientHub WorkFlow.
To view the video larger, click the icon at the bottom right hand corner once the video begins playing. You can adjust the playback speed while the video is playing by using the fourth icon from the bottom right (looks like 1x, 1.2x, etc.)
Instructions:
Tip: Before beginning the setup of your workflow pipeline and the automations you want to use, we recommend that you have any engagement letters, intake forms, or To-Do Lists set up that you’d like to automatically have sent out. You won't be able to create them during the setup.
Step 1
- Click on Workflow > New Pipeline
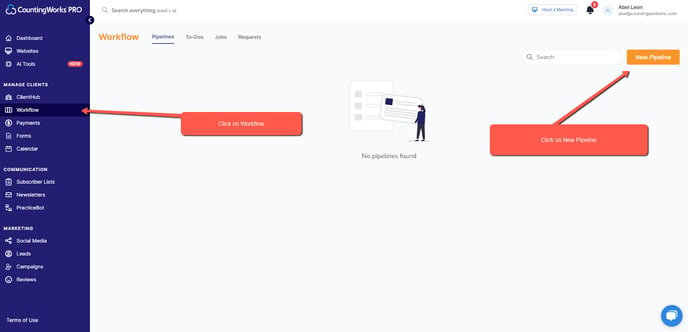
Step 2
- Select a template (Optional)
- Type the pipeline name
- Choose the recurrence of this type of engagement
- Choose A Start Date
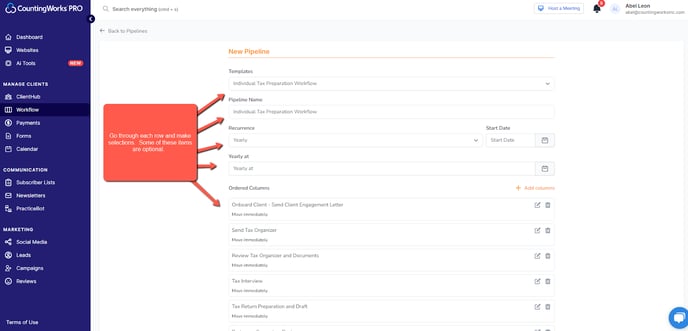
Step 2.1
- You can click on the edit pencil to edit the milestones in the engagement.
- You can change the name of the milestone and the timing of when a client card is moved automatically to the next milestone.

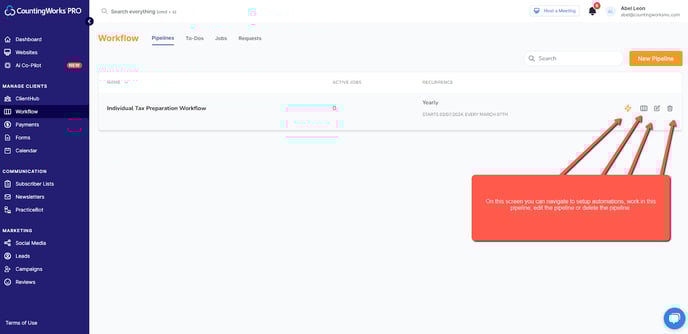
Step 3
- Once a Pipeline has been created you’ll see it in a list on the Workflow tab.
- On this screen, you can navigate to set up automations, work in this pipeline, edit the pipeline, or delete the pipeline.
- Click on the
symbol.
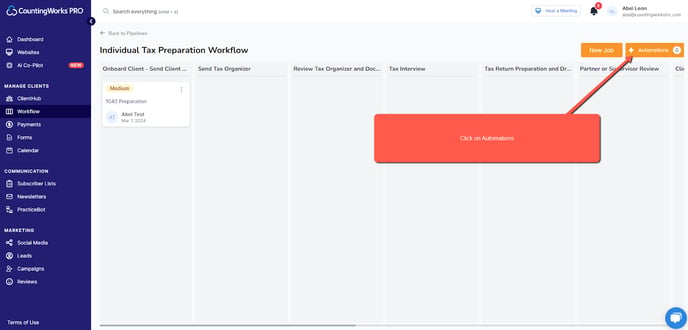
Step 4
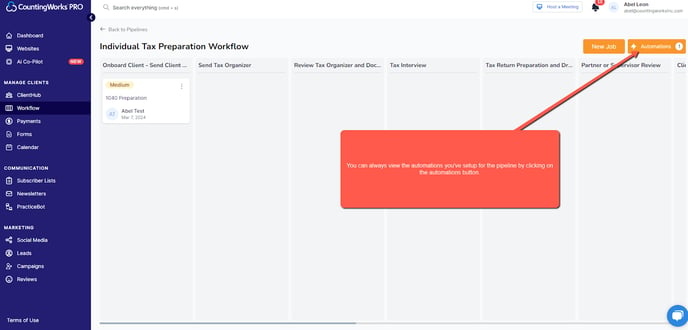
- Click on Automations
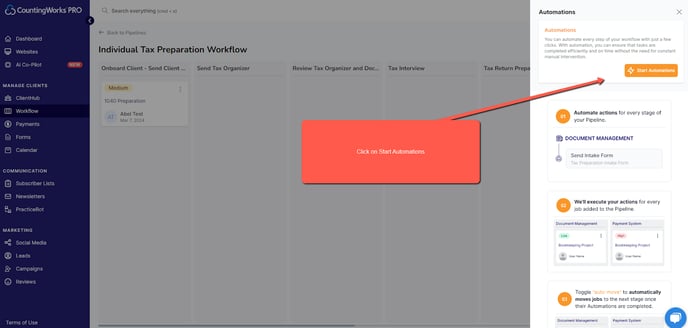
Step 5
- Click on Start Automations
Step 6
- Choose the column and the automation you’d like to implement.
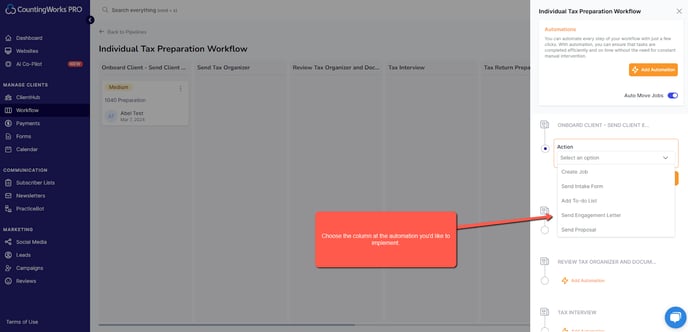
You’ve now set up an automation. You’ll be able to see any of the automations you’ve set up for this pipeline by clicking on the Automations tab.