- Help Center
- CountingWorks PRO 3.0
- Appointments
-
Getting Started with CountingWorks PRO
-
CountingWorks PRO 3.0
-
Portal 2.0
-
CountingWorks Learning Center
-
Green Portal
- Automated Newsletter
- eSign
- Online Appointments & Reminders
- Client Management
- Improve Your Presence
- Message Center
- Professional View Portal
- Tips & Tricks
- Domains
- Website Editor Plugins
- Website Editor
- Social Media
- Admin Users and Roles
- Security
- Leads - Automated Lead Management
- Communication - Special Announcements
- Subscriber Management
- Client Alerts
- Greetings
- Portal Client View
-
TaxBuzz / CountingWorks
-
Rackspace Email Set Up
-
General
-
ADP
-
CW Employees
How to add Outlook Calendar appointments to your website
-
When creating your site, you will first want to add the Appointment Component to your site or landing page.
-
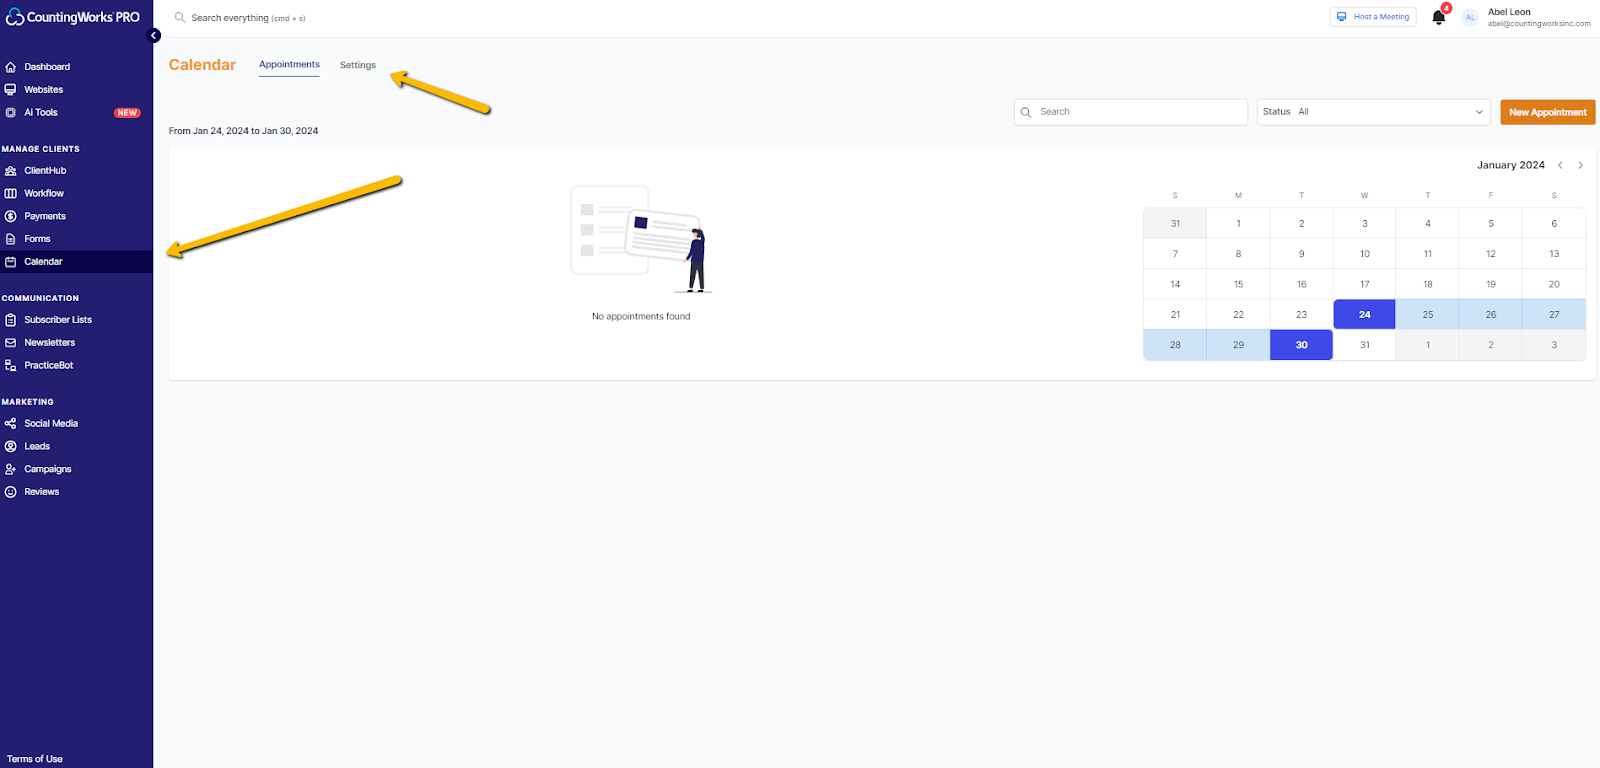
Once that is in place you will want to set up the appointments. To do that first navigate to Calendar and select Settings.
-
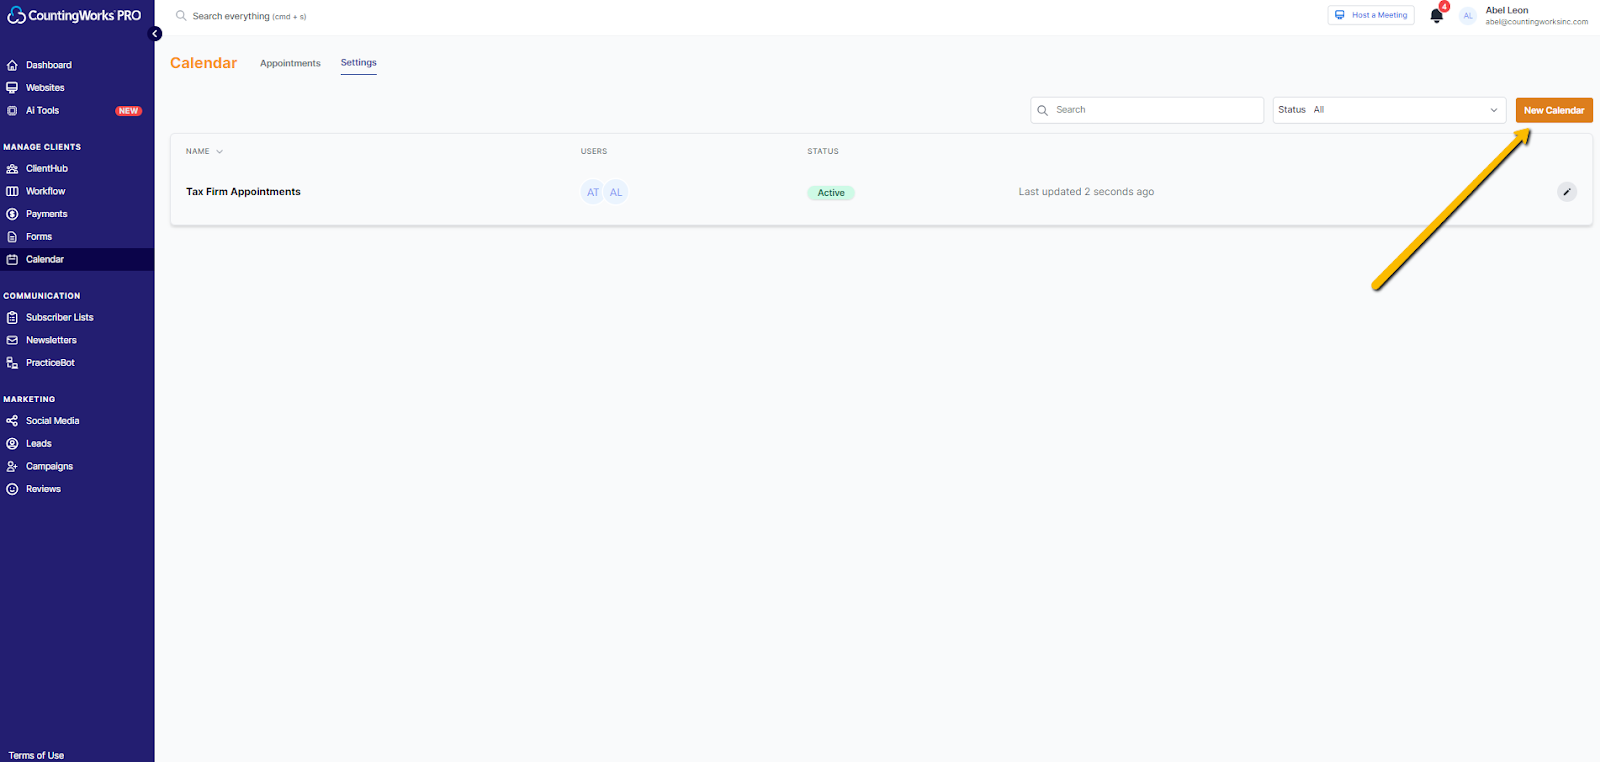
On the following page, click on the + New Calendar button
-
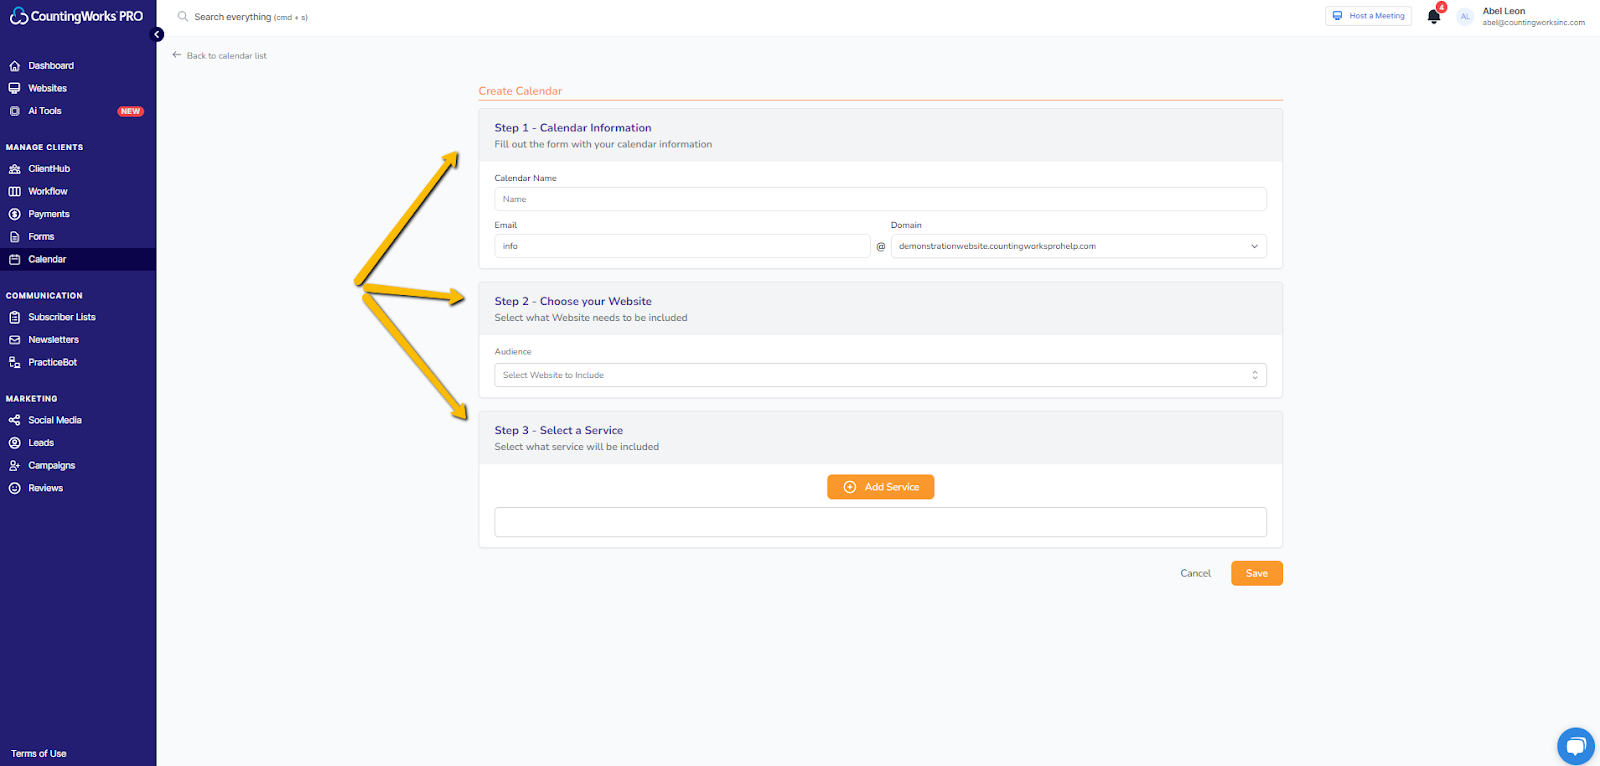
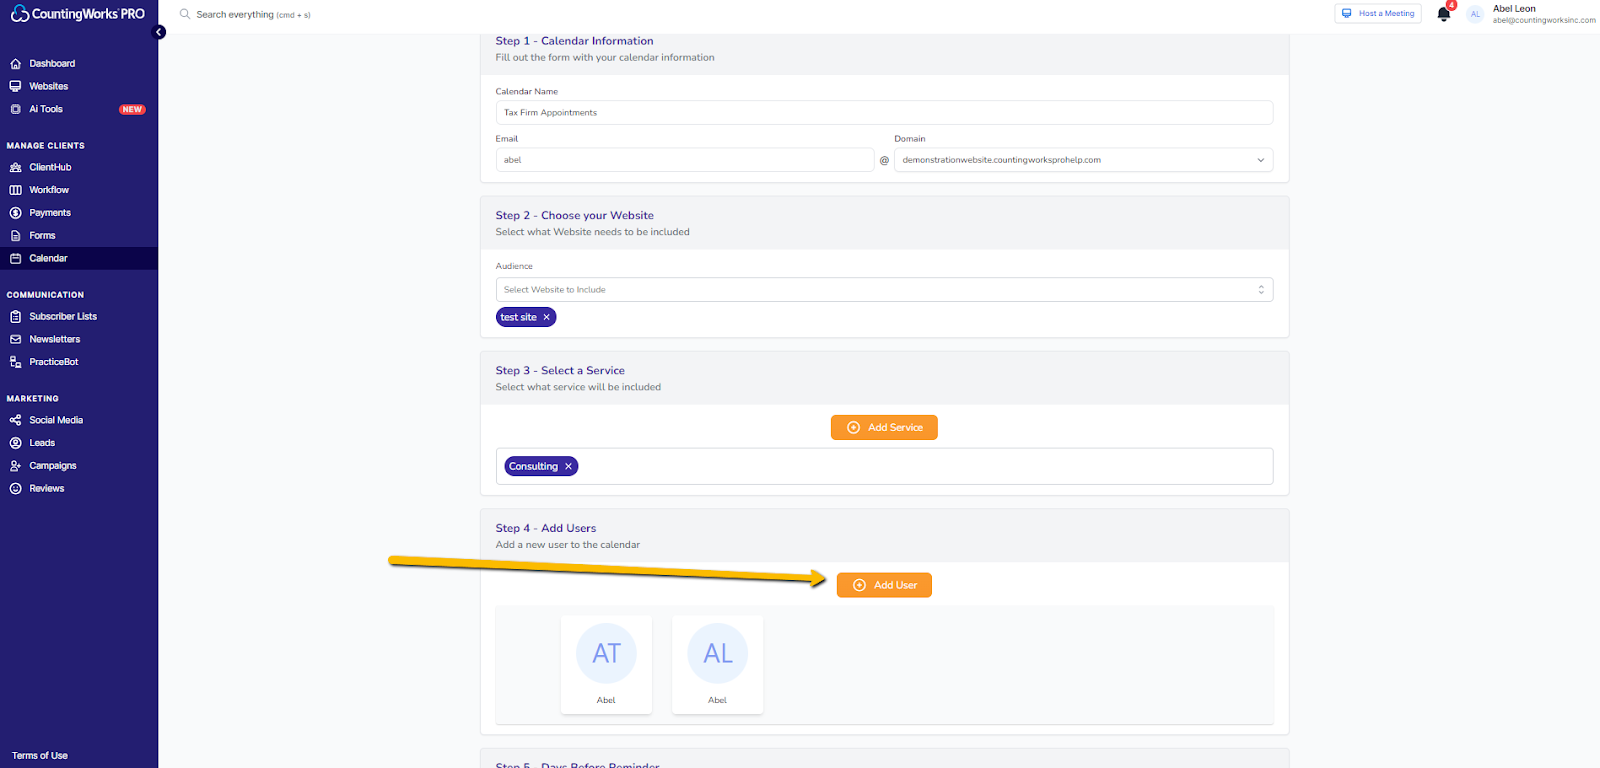
Complete steps 1-3 here for general setup purposes and click the Save button at the bottom.
-
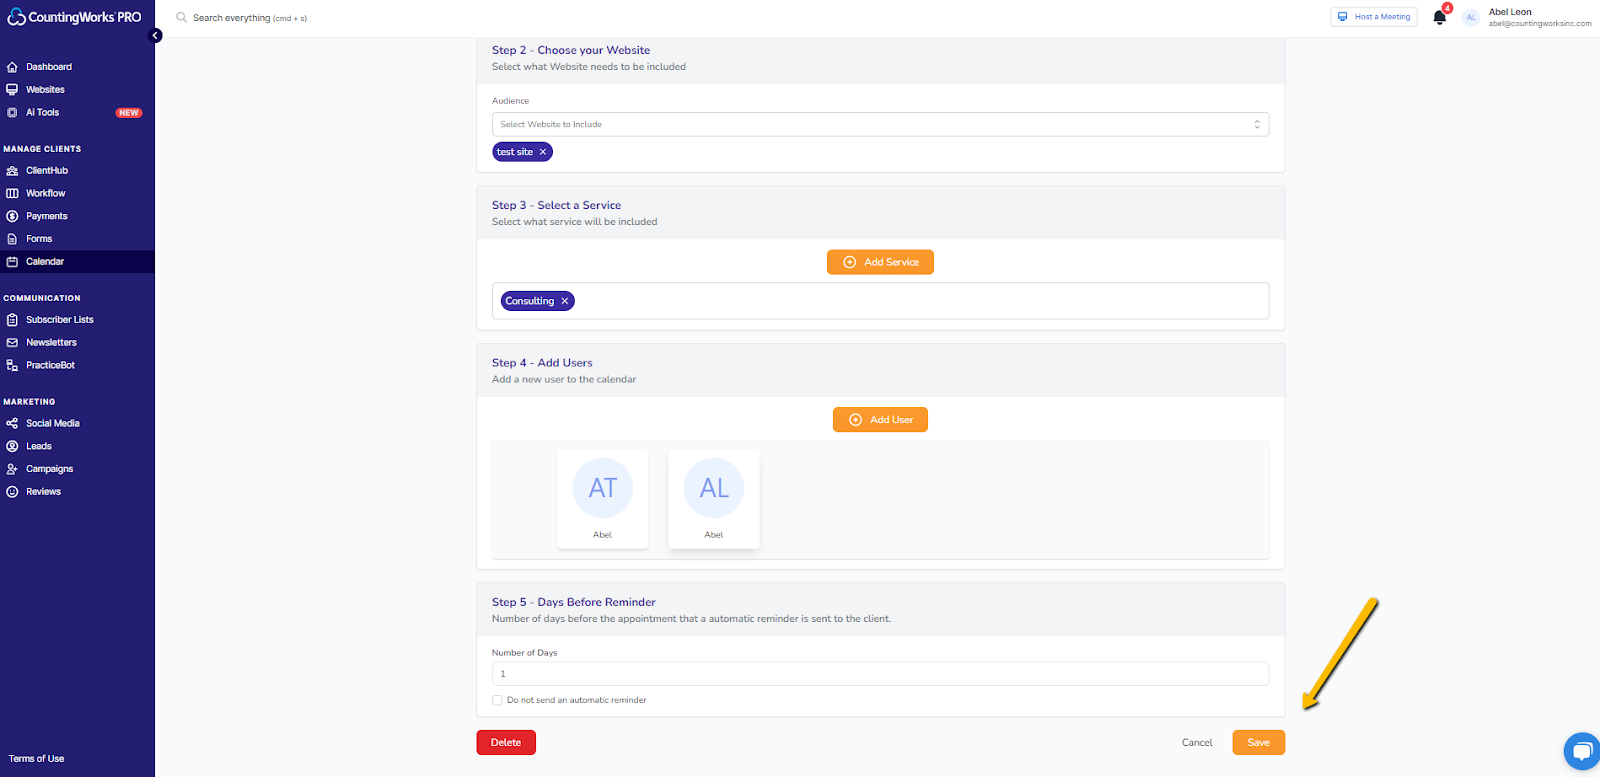
Once you hit save, Step 4 will become available to add a user to the calendar.
-
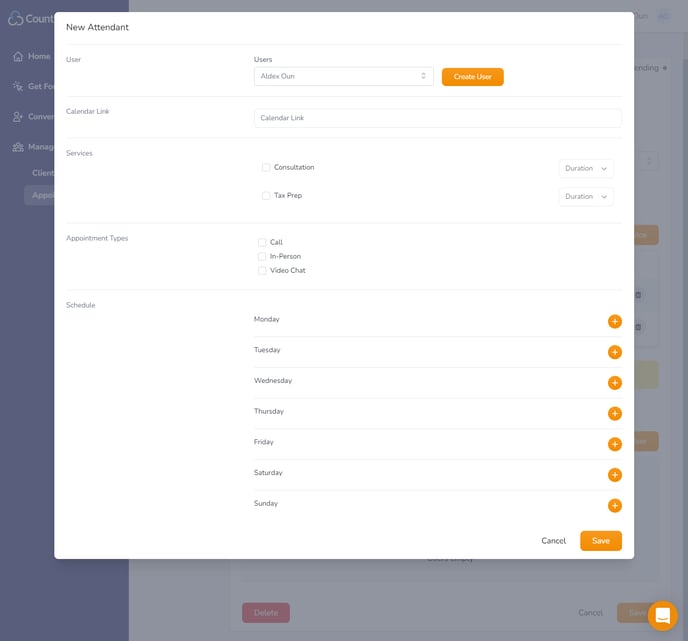
The following screen is where you will setup the available appointments for that specific site or landing page. Most of the details needed are straightforward; however, in the next step we will cover how to obtain the Calendar Link needed.
- Now open up a new browser tab and navigate to Outlook online and log in.
-
Once logged in, click on the settings gear located in the top right corner of the screen.
-
Click on View all Outlook settings at the bottom of the right side.
-
Click on Calendar > shared calendars > publish a calendar > Can view when I’m busy > Publish
-
Copy the ICS URL
-
You will then go back to your 3.0 platform and input the iCal link into the Calendar Link field. Once you have done that and finished selecting the services and hours you want added to your appointment scheduler, click on the Save button at the bottom.
-
You will then be brought back to the 4 step setup screen where you will go ahead and select Save at the very bottom once again.
-
You are now all set. Now if you go back to your site or landing page, you will see all of the available services and hours you have set, which users can now select from.